RSS в 66 социальных сетей: Facebook, Instagram, X, LinkedIn, Telegram и другие Блог Партнерская программа Контакты
Short answer: the first week with PostRSS goes best as seven small steps, one a day: find the feed address, create the account and add the feed, connect the first network, publish and read the first report, add a filter and hashtags, set the timing, and review the numbers before deciding about a second target or a plan. Each step takes between ten and thirty minutes, and none needs code. The aim is not to automate everything in a week but to finish it with one network that posts correctly, a report that you understand and a clear next step.
Most people who try a tool like this make the same mistake in the first hour. They connect everything at once, turn on every option and then cannot tell which setting caused which post. A week-long plan avoids that. It gives you a sequence in which each step changes one thing, so you always know what you did and what happened. This guide uses only features that PostRSS describes on its public pages: RSS and Atom feeds as sources, a free plan with one target, nine message formats, keyword filters, hashtags, UTM parameters, exact times and posting windows on paid plans, reports with item statuses and a plan list with clear limits. Check the live pages for the current figures, because plans can change.
You need two things. The first is the address of an RSS or Atom feed, which is the page that lists the newest items of your website in a machine-readable form. The second is access to the account where you want to post, for example the Facebook Page that you manage, a Telegram channel that you own or a Bluesky account. If you have these, you can finish the first connection in a few minutes. If you do not, day one is for finding them.
Decide on one goal for the week. A good goal is simple: every new article of my website appears on one network within minutes, with the right title, link and picture. Keep a short note of what you do each day, because by the end of the week it will be your own manual.
Most website platforms publish a feed already. The integrations page of PostRSS lists the addresses for many of them, and the table below repeats some of the most common ones. Replace the example domain with your own and open the address in a browser. If you see a page of structured text with your latest items, the feed works.
| Platform | Where the feed is |
|---|---|
| Ghost | The address of your site followed by /rss/ |
| Shopify | A collection address ending in .atom, or /blogs/news.atom for the blog |
| Squarespace | Any blog page address with ?format=rss added |
| Wix | The address of your site followed by /blog-feed.xml |
| Blogger | The blog address followed by /feeds/posts/default?alt=rss |
| Drupal | /rss.xml for the front page |
| Joomla | A category blog address with the feed format and RSS type added |
| YouTube | The channel feed address with your channel identifier |
If your site runs on WordPress, the official PostRSS plugin builds the feed and creates the target for you, so there is nothing to copy. If you cannot find a feed, the guide to finding your WordPress feed link and the related guides for other platforms will help. Write the address in your note.
Create a PostRSS account. The Free plan needs no card and has no time limit, and it includes one target and ten posts a month, which is enough for a first test. Add your feed as a source. At this stage do not touch any other option. The default settings are a sensible starting point, and the aim of day two is only to get PostRSS to read your feed.
Ten posts a month is a small allowance, so be careful with it. Keep the number of posts per update low, and do not turn on the option that posts older items. The guide to catching up older feed items explains why that option needs care on a small plan.
Choose one network. On the Free plan the choices are a Facebook Page, a Telegram channel, Bluesky and Mastodon. Pick the one where your readers are. Each connects differently. Facebook and Mastodon use a sign-in on the network. Telegram needs the PostRSS bot to be added to your channel as an administrator with permission to post. Bluesky uses an app password that you create in your own account settings. The guide to how PostRSS connects networks lists the methods.
After the connection, create the target by choosing the account and the feed. Choose how often the feed is checked. On the Free plan the interval is set by the plan, and a slower interval is fine for a first week. Save, and wait.
Publish a new article on your website, or wait for the next one. After the next check, a post should appear on your network. Look at it carefully. Is the title right? Does the link work? Is the picture the one you expected? PostRSS builds each post from the item title, the item description, the page title or your own static text, in nine combinations, and you can change the format if the default does not suit you.
Now open the report of the target. It shows each run, with the number of items seen and posted, and the items themselves with their statuses. This is the most important screen in the product, and it is worth ten minutes now. The guide to reading PostRSS reports and item statuses explains each status. If the post did not appear, the report usually says why.
On day five you refine what is posted. If your feed contains items that do not belong on your network, add a keyword filter. You can include words that an item must contain and exclude words that it must not contain. PostRSS searches the title, the description and the categories, ignores letter case and also matches parts of words. Items that a filter removes are not posted and do not use your allowance, so on a small plan a filter also saves posts.
Then consider hashtags. PostRSS can turn the categories and tags of an item into hashtags, and it can add your own hashtags to every message, on networks where hashtags make sense. Start with two or three of your own. The article on automatic, custom and random hashtags explains the choices.
On day six you decide when posts should appear. On every plan you can choose how often the feed is checked. On paid plans you can also use exact times on chosen days and a posting window, and set the maximum number of posts per update. If you are on the Free plan, you can still keep the number of posts per update low. If you are considering a paid plan, this is the day to try the exact times, for example one slot in the morning on weekdays. The guide to exact times, windows and intervals describes the options.
Add a tracking parameter if you use analytics, such as a short name of the network, so that you can see which visits came from the post.
On the last day, review the week with your note. Open the reports and count the posts. Compare the usage with the allowance of your plan. Look at your analytics for visits from the network. Ask yourself three questions. Did the posts look right? Did the automation save time? Is there a second network worth adding?
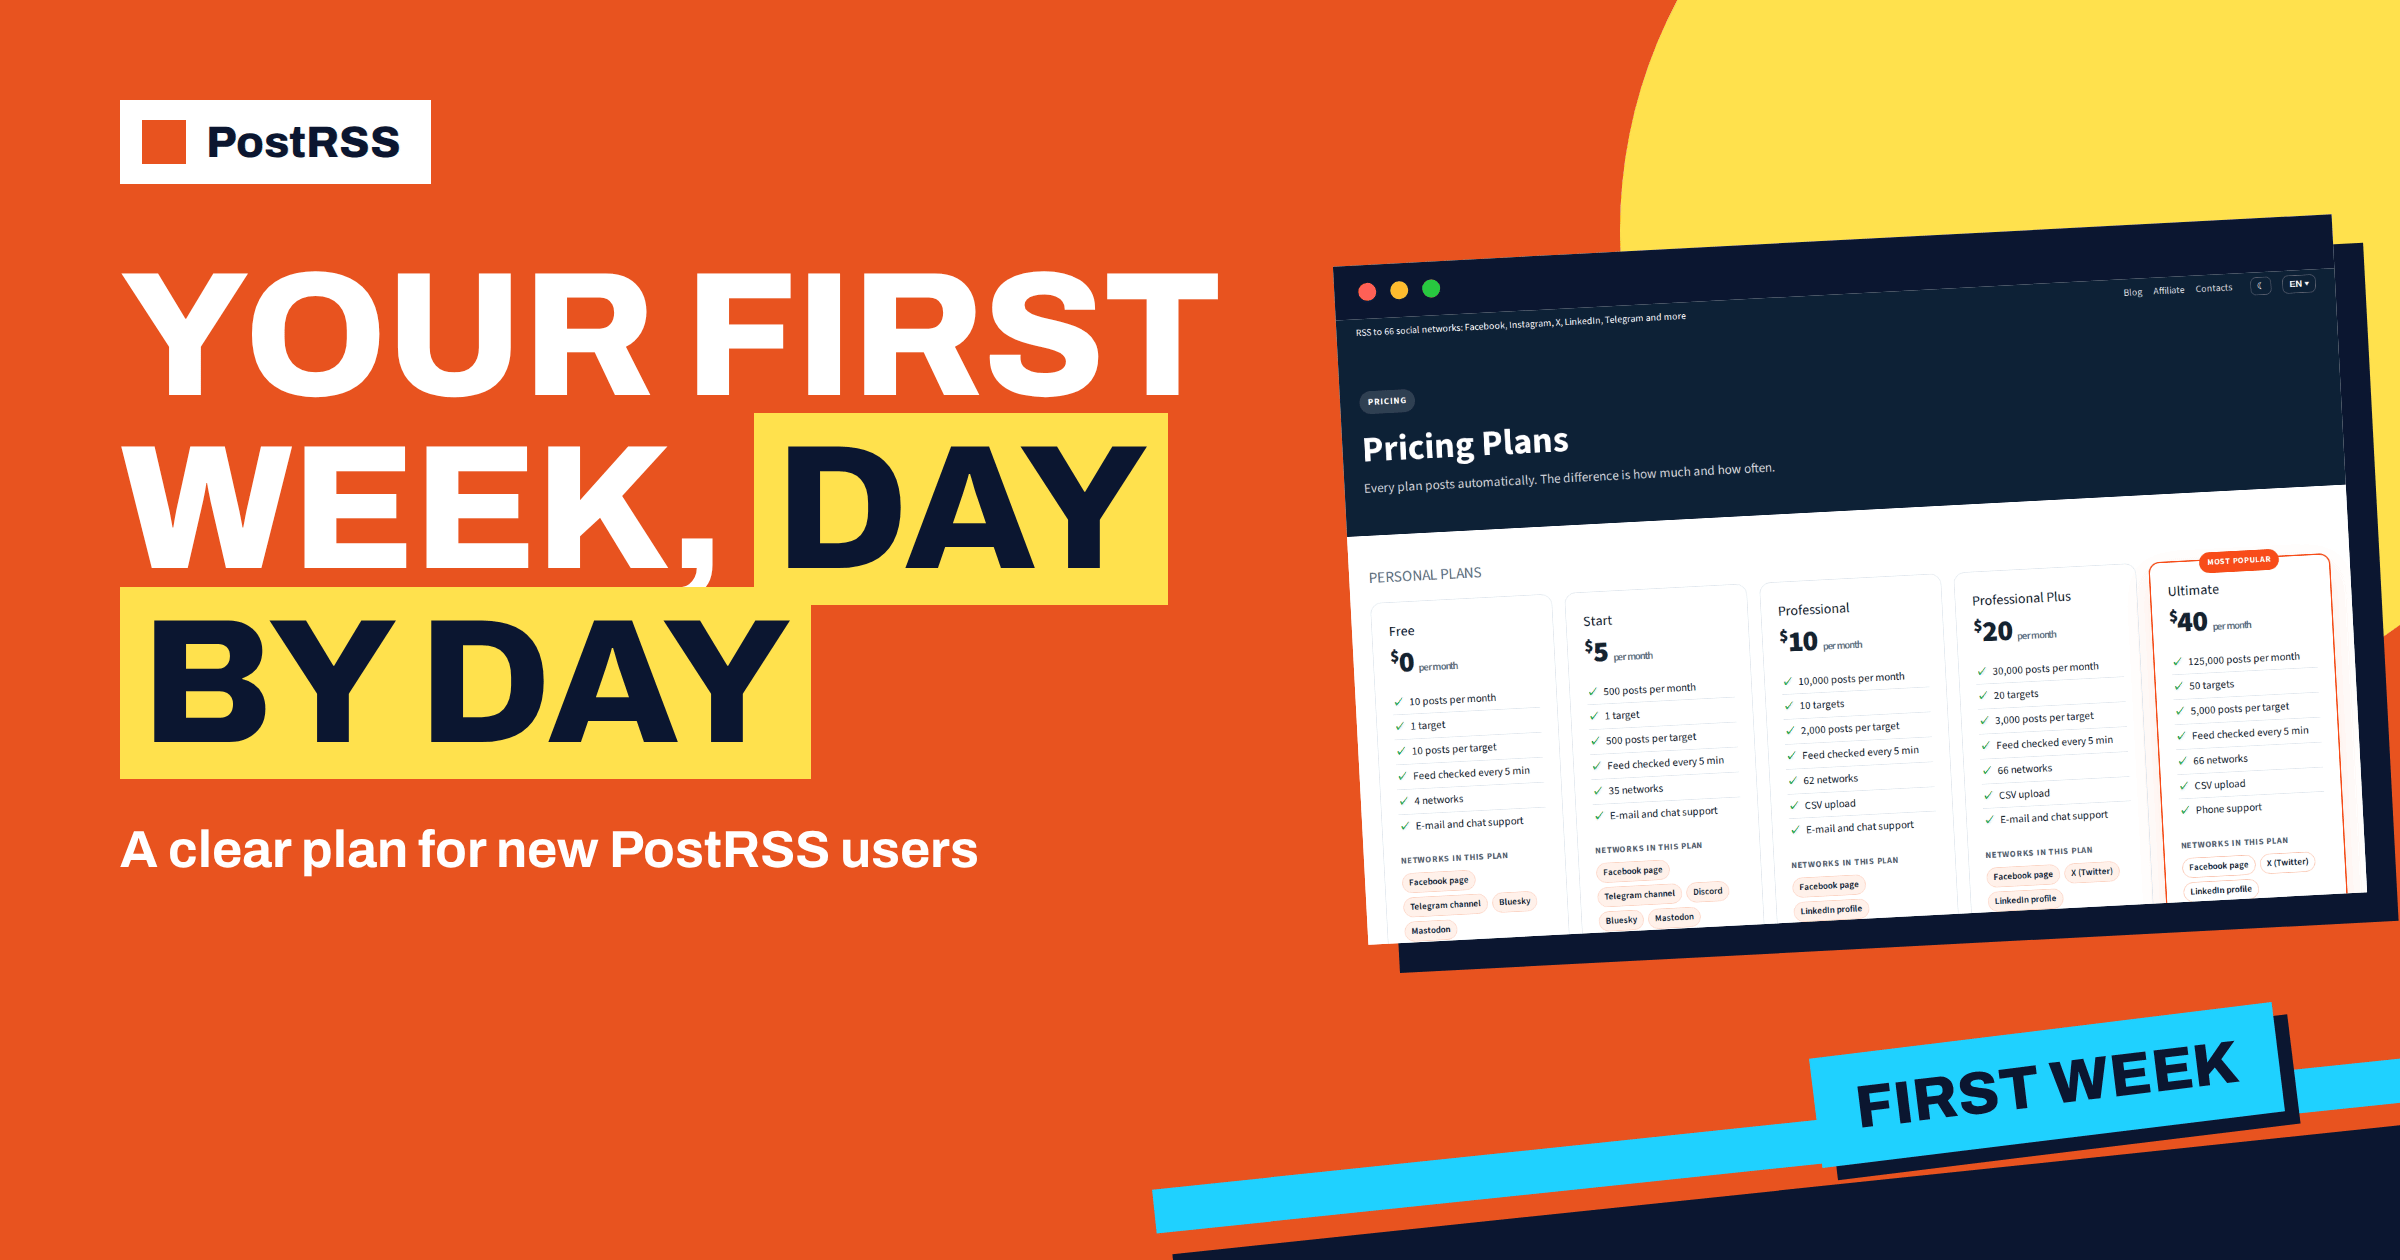
If the answers are positive, decide the next step. If you want a second target, you need a plan with more than one, since the Free and Start plans have one target and the Professional plan has ten. If you want more posts, compare the plans on the pricing page. If you are satisfied with one network, you can stay on the Free plan for as long as it fits. There is no rush, and the plan list on the pricing page shows exactly what each step adds.
The note that you write during the week is more valuable than it looks. Each day, write three lines: what you did, what you saw and what you will change tomorrow. By the end of the week you have a record of the settings that work for your site, written in your own words. If you later add a second target, hand the setup to a colleague or move to a larger plan, the note is the document that makes it easy. It also protects you from a common problem: a setting that you changed in a hurry and cannot remember.
A local bakery wants every new blog entry to appear on its Facebook Page. Its goal for the week is to have the Page post the title, link and photo of each new entry within a few minutes, and to understand the report. A freelance developer wants every article on his blog to appear in a Telegram channel that his clients follow. His goal is a working bot, a clean preview card and a filter that keeps personal posts out. A small association wants its news to reach members on Mastodon. Its goal is a connected account, a decent hashtag and a calm rhythm. In each case the goal is one network and one result, and the week is spent making that result reliable.
Resist the temptation to add a second goal before the first is met. A setup that posts correctly to one place is worth more than a setup that posts unreliably to five.
A post does not appear: check that the feed address works in a browser, that the target is active and that the bot or token still has permission. A post has no picture: check that the feed item contains an image or that the page has an Open Graph image. The title is cut: the network may have a limit, and PostRSS trims long titles so that the link survives. Too many posts: lower the posts per update or add a filter. A post appears twice: check that two sources do not read the same feed for the same target. Each of these has a quick fix once you know where to look.
Seven days, seven small steps: find the feed, add it, connect one network, read the first report, refine with a filter and hashtags, set the timing and review. At the end you have one working automation and a clear view of what to do next. Start on the free plan, keep each change small and let the reports guide you. The plans are on the pricing page, and the full list of options is on the features page.
Creating an account, adding a feed and connecting a first network takes a few minutes. The week-long plan spreads the refinements so that each change is easy to understand.
No. The Free plan has no card requirement and no time limit, with one target and ten posts a month.
The one where your readers are. On the Free plan you can choose a Facebook Page, a Telegram channel, Bluesky or Mastodon.
Most platforms publish one, and the integrations page lists the addresses. On plans that include CSV upload you can also use a spreadsheet as a source.
When you need a second target, more posts or an additional network that your plan does not include. The pricing page shows what each plan adds.
What changed in the networks, what broke, and how to fix it before it costs you reach.
Создано Internet Solutions — командой PostRSS. Каждый продукт экономит ваше время по-своему.
 English
 Lietuviškai
 Deutsch
 Français
 Русский
 Español
 Polski
 Italiano
 Українська
 Čeština
 Português
 日本語
 Latviešu valoda
 Eesti
 Magyar
 Bahasa Indonesia
 Türkçe
 हिन्दी
 Ελληνικά
 العربية
 ไทย
 Tiếng Việt
 Română
 Bahasa Melayu
 বাংলা