66টি সোশ্যাল নেটওয়ার্কে RSS: Facebook, Instagram, X, LinkedIn, Telegram এবং আরও অনেক কিছু ব্লগ অ্যাফিলিয়েট যোগাযোগ
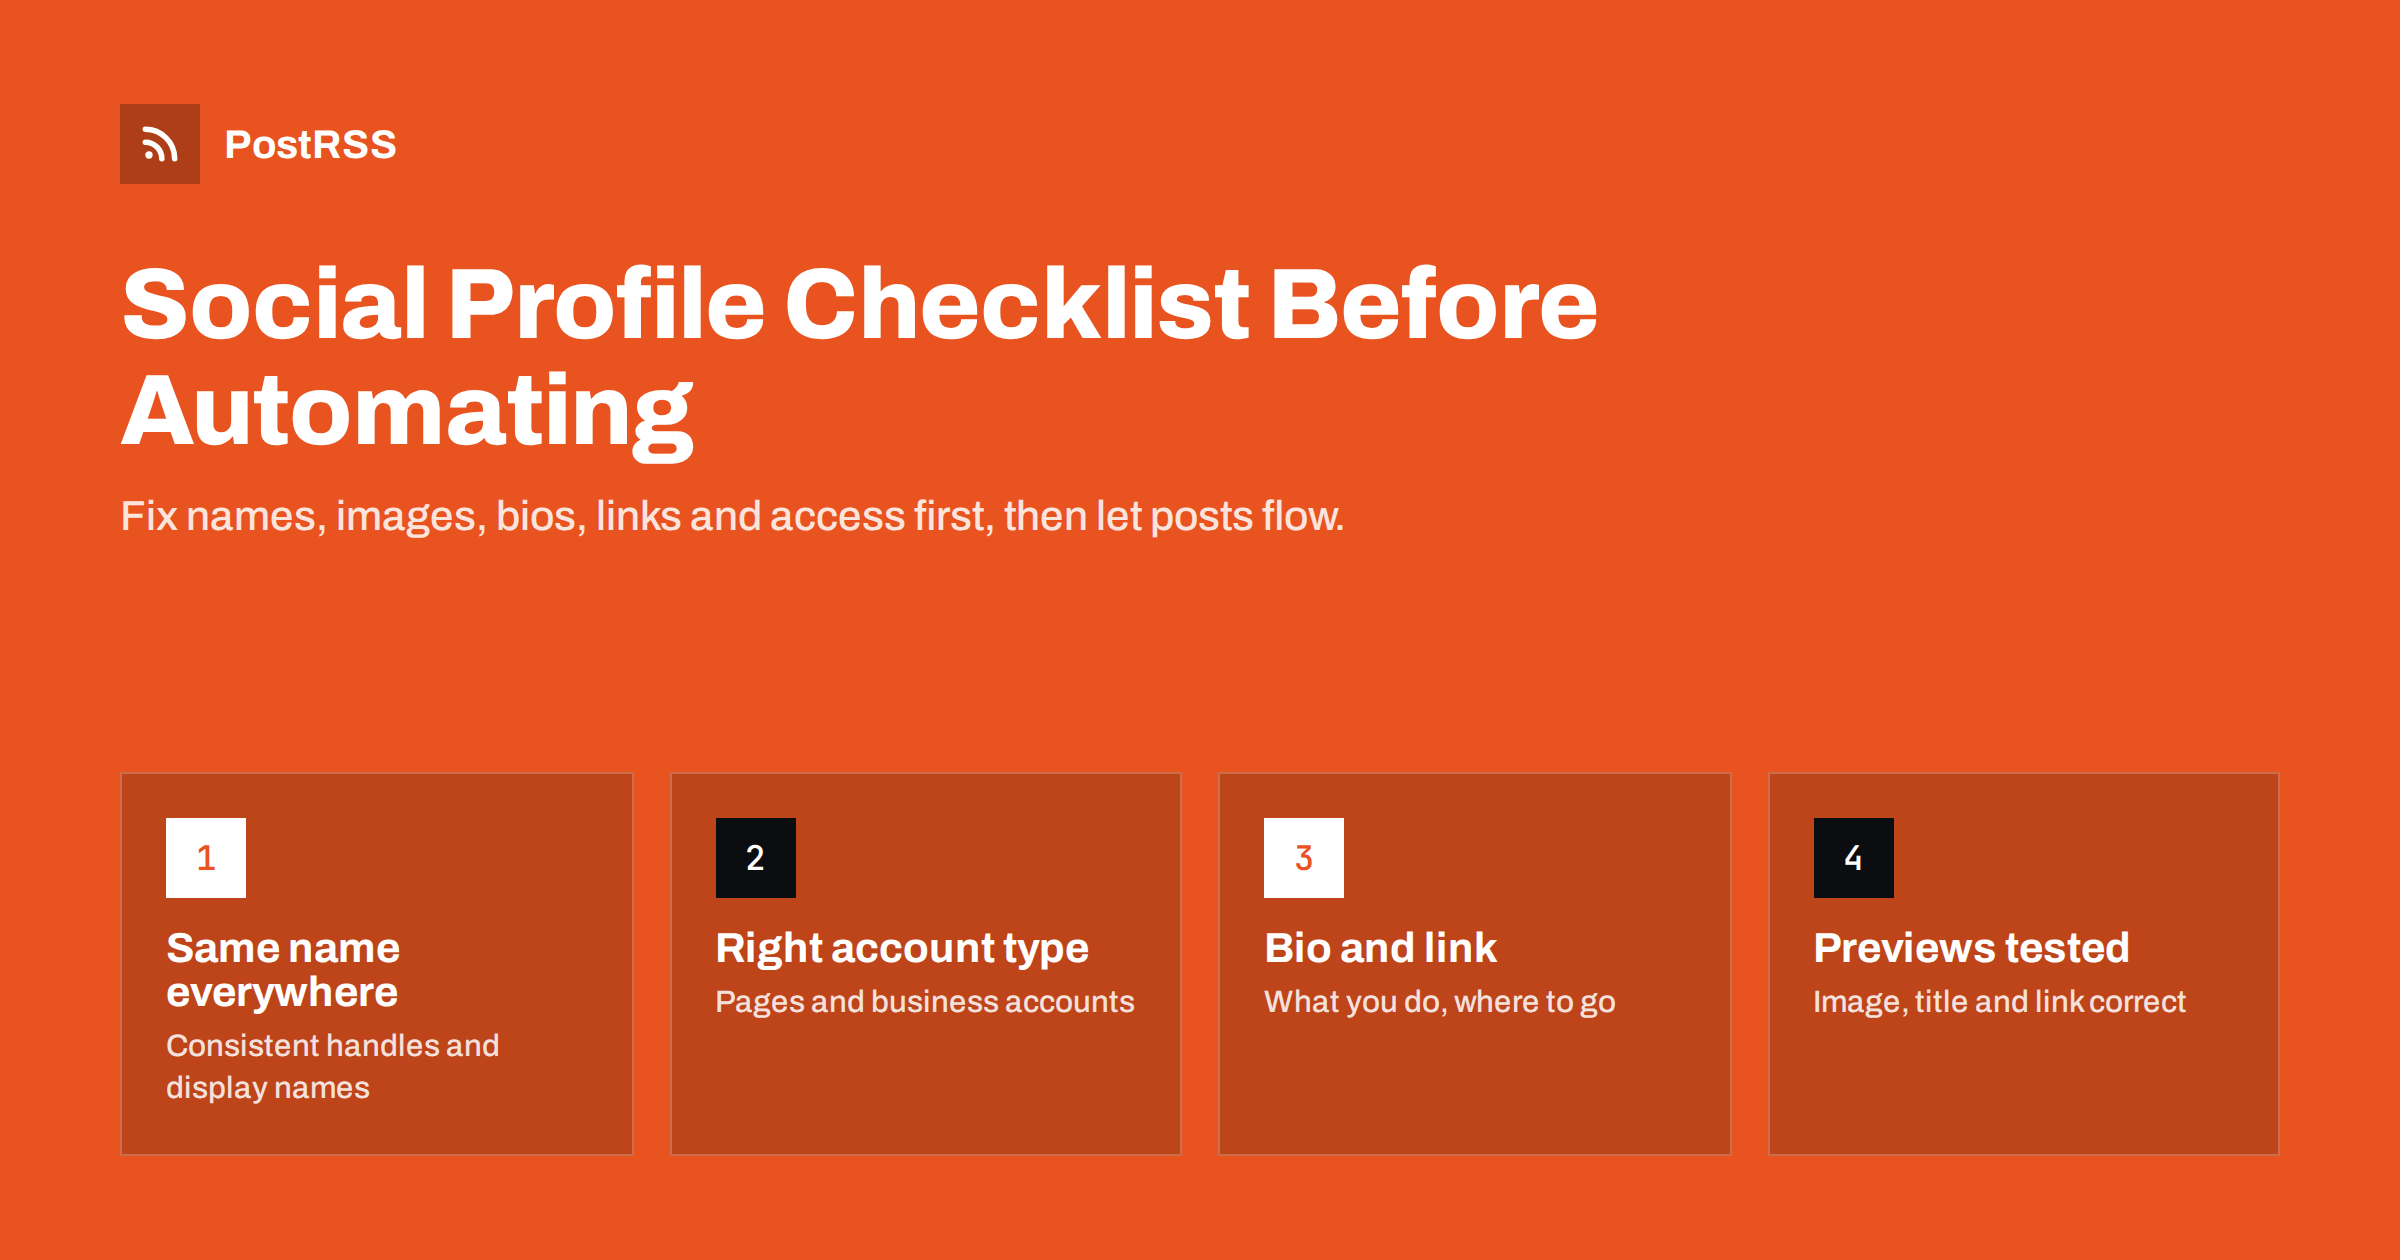
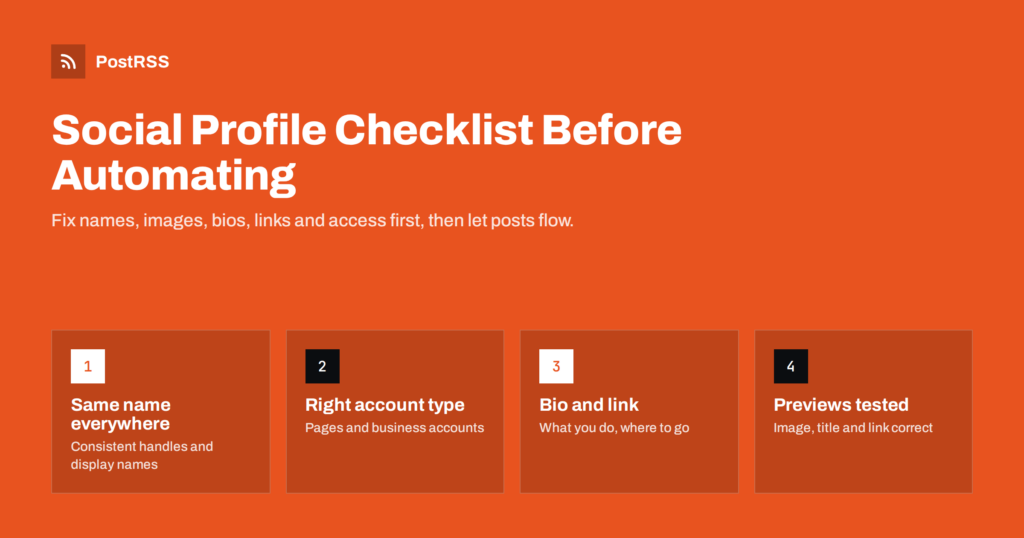
Short answer: Before you connect social accounts to an automated posting tool, make sure each profile is ready to receive visitors: the same business name and logo everywhere, the right account type (a Facebook Page or LinkedIn company page rather than a personal profile), a clear bio with one working website link, contact details, and admin access held by more than one person. Then test how your website links look when shared. Automation multiplies whatever it posts into, so a tidy profile makes every automated post more effective.
Automated posting is good at one thing: getting your new content onto many channels quickly and consistently. It cannot fix the page those posts land on. When someone sees an automated post and taps your name, they arrive on your profile. If the profile has an old logo, a bio that describes a service you stopped offering, and a website link that leads to a 404 page, the good post is wasted.
Profiles also influence how posts look. The profile image and name appear next to every post. On several networks, the account type decides which features are available, including whether automated publishing is allowed at all. And your website’s own settings decide how link previews appear in each post.
Setting everything up properly takes an afternoon. Doing it before you switch on automation means that from the first automated post, everything points in the same direction.
People should recognise you instantly on every network. Check:
Consistency also applies to the language you use. If your audience is international, decide whether each profile speaks one language or several, and keep that consistent with what your automated posts will contain. A profile with an English bio that suddenly receives posts in another language confuses visitors; if you publish in several languages, consider separate feeds and separate accounts per language.
Write the final list of handles in a shared document. It will be useful when you set up automation, when colleagues need to mention the company, and when you print handles on packaging or signs.
This point matters more for automation than any other. Many networks distinguish between personal accounts and business or organisation accounts, and automated publishing through official APIs is often only available for the latter.
Also check who is shown as the owner of each business account. On some networks, a Page or company page is attached to a personal account behind the scenes. That is normal, but the personal account behind it must belong to someone who is still with the company and can log in when a connection needs renewing.
If an existing account is the wrong type, converting or creating the right one before you build a following is far easier than moving an established audience later.
The profile image appears next to every post, often at a very small size. Use a simple version of your logo or a clear photo, centred with enough margin that a circular crop does not cut it off. Use the same image on all networks so followers recognise your posts in a busy feed.
Cover or banner images are more flexible. Use them to show what you do: your product, your team, your shop front or a current campaign. Check how the cover looks on a phone, where large parts are often hidden behind the profile image and buttons. Networks publish their recommended sizes, and they change from time to time, so check the current guidance before designing.
Check the details that are easy to overlook: the favicon and logo on your website itself, which some networks show in link previews, and the images used for your business listing on maps and review sites. When all of these match, customers who meet you in different places see one coherent brand rather than several slightly different ones.
Remember accessibility too. Where a network allows alt text or a description for profile and cover images, add it.
A visitor reading your bio wants to know what you do, who it is for and where to go next. A good bio answers all three in a sentence or two:
Adapt the length to each network, but keep the core message the same. Avoid vague claims such as “the best in town” and lists of hashtags that crowd out the actual information. If you have opening hours, a phone number or an address, fill in the dedicated fields where the network offers them.
Most profiles have space for one main link. Decide where it should go. For many businesses, the home page is right. For a publisher, the blog or a subscribe page may be better. For a shop, the product catalogue. If you use a link-in-bio page, make sure it is quick, up to date and not a maze.
Then check that the link works, uses https, and does not redirect several times. Consider adding UTM parameters to profile links so your analytics can separate visits from profile links and visits from posts.
If your website has several sections that matter, such as a shop and a blog, you can use pinned posts or highlights on networks that support them to point to the second destination, instead of squeezing several links into the bio. A pinned post that explains what the account shares and how often also sets expectations for new followers who arrive through automated posts.
Finally, check contact options. If the profile has a message button, someone must read those messages. If you cannot answer messages on a particular network, say where to contact you instead, for example in the bio.
Automation tools connect to your accounts through the network’s login and permission screens. Before you do that:
Give tools the minimum access they need. When a network asks which pages or channels a tool may manage, select only the ones you intend to automate. It keeps accidental posts off the wrong page and makes the permissions easier to review later.
Keep in mind that some connections expire or need reconnecting after password changes or security events. Knowing who owns each account makes those reconnections quick.
Automated posts usually share a link to your website, and the network builds a preview from your page’s Open Graph tags: the title, description and image. If those tags are missing or wrong, every automated post shows the wrong picture, a generic logo or no image at all.
This matters even more for automated posting than for manual posting. When you post by hand, you see the preview before you press publish and can swap the image. With automation, nobody looks at each post before it goes out, so the website must produce a good preview every time without intervention.
Before you start, share one recent article manually on each network, or use the networks’ preview or debugging tools where available, and look at the result on a phone. Check that the image is the featured image of the article, that it is not awkwardly cropped, and that the title and description make sense. Fix the website template once, and every future post benefits.
https; contact details filled in.Once profiles are ready, PostRSS takes care of the publishing. It checks your RSS or Atom feed every 5 minutes (every minute on Enterprise plans) and posts each new item, with its image and link, to the pages, channels and accounts you connect; the features page lists 66 networks. The image is taken from the feed item or from the page’s Open Graph tags, which is why testing previews first pays off. UTM parameters can be added to every link automatically. See the PostRSS features page for what each connection supports.
Automation spreads your content; your profiles decide what people think when they arrive. Take an afternoon to align names and images, pick the right account types, write clear bios with one working link, secure access with two-factor authentication and several admins, and test your link previews. Then switch on automated posting, knowing that every post leads visitors to a profile that is ready for them. Repeat the check once or twice a year, or whenever your logo, website address or team changes.
No. Automated publishing on Facebook works for Pages, not personal profiles, and Groups have not been available for automation since Meta closed that API in April 2024. A business should create a Page and connect that.
It is not required, but it helps people find and recognise you. If your preferred handle is taken somewhere, choose one variation and use it everywhere rather than different compromises.
Networks usually build the preview from your page’s Open Graph tags. If the tags point to a logo, a missing file or an old image, the post shows it. Fix the tags in your website template and test with a real article.
The company should, through business email addresses and at least two admins. Accounts tied to one employee’s personal login cause problems when that person is away or leaves.
For a small business with three or four networks, an afternoon is usually enough. Most of the time goes into images and bios, while testing previews takes only a few minutes per network.
What changed in the networks, what broke, and how to fix it before it costs you reach.
 English
 Lietuviškai
 Deutsch
 Français
 Русский
 Español
 Polski
 Italiano
 Українська
 Čeština
 Português
 日本語
日本語 Latviešu valoda
 Eesti
Eesti Magyar
 Bahasa Indonesia
 Türkçe
 हिन्दी
 Ελληνικά
 العربية
 ไทย
ไทย Tiếng Việt
 Română
 Bahasa Melayu
 বাংলা
বাংলা